In addition to the design of the actual product, our designers are also entrusted with the development of the plastic injection mould. However, there is never just one mould; there are always at least three of them - for the case, the cap and the plug.
Some technologies that serve the production of press injection moulds.
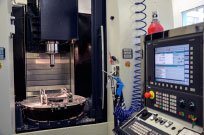
- 5-axis CNC SPINNER 1020 machining centre
This piece of equipment machines components along five axes. Thus, 3D components may be produced. Moreover, the equipment is used to produce the dies for more complex designs. It is also applied in precision machining of the holes for mandrels, dies, pins and other auxiliary openings. The machine operates within a CNC programme. The team creates a programme based on the supplied drawing documentation and the equipment machines the required part on its own. The machine has a supply of tools, from which it chooses those required for the programme to be completed. The completed part is produced to an accuracy of 0.05 mm. - 3-axis CNC MIKRON UM 600 machining centre
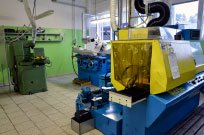
This piece of equipment is used for machining parts along three axes. It is used in the production of simpler parts within the CNC programme. The chief function of the machine involves precision drilling of holes for mandrels, dies, pins and other auxiliary openings. The team creates a programme based on the supplied drawing documentation and the equipment machines the required part on its own. The machine has a supply of tools, from which it chooses those required for the programme to be completed. The completed part is produced to an accuracy of 0.05 mm. - MAKINO EDNC 43S electro-erosion machine
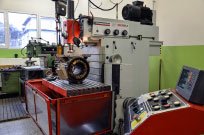
The electro-erosion machine operates via an electrical discharge between an electrode, which is made of copper, and the machined material, which must be conductive (steel, brass, aluminium, etc.). Both the electrode and the machined material are submerged in a conductive bath - electrolyte. Electro-erosion machines are used in the production of more complex parts in quenched material, where the advantage lies in the fact that the final shape is machined using an electrode and subsequently replicated, through sparking, in the machined material. Sparking may be used to produce more complex shapes which cannot be produced using traditional machining. The completed part is produced to an accuracy of 0.001 mm. - 3D MITUTOYO CRYSTA PLUS M manual coordinate measuring machine
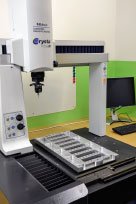
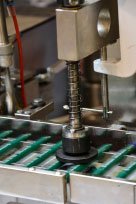
The 3D coordinate measuring machine checks for production deviations that may evolve as a result of tool wear, machine inaccuracy or operator fault. The purpose is to check for any faults before the machined part is subjected to any further operations or a defective part is installed in the injection mould, where the defect could only be established during production in the injection mould. It is possible to measure, using a touch probe, the 3D shapes of all complex parts or the spacing of the drilled holes for the injection mould, where the measurement accuracy is 0.001 mm.


